With your payment gateway setup and ready to receive funds, you can now enable funding on your project. Before you do, let’s run through the setup.
Define your mission and objectives
First we’ll let our funding community know a little about the amount of funds we require and what we’ll use them for:
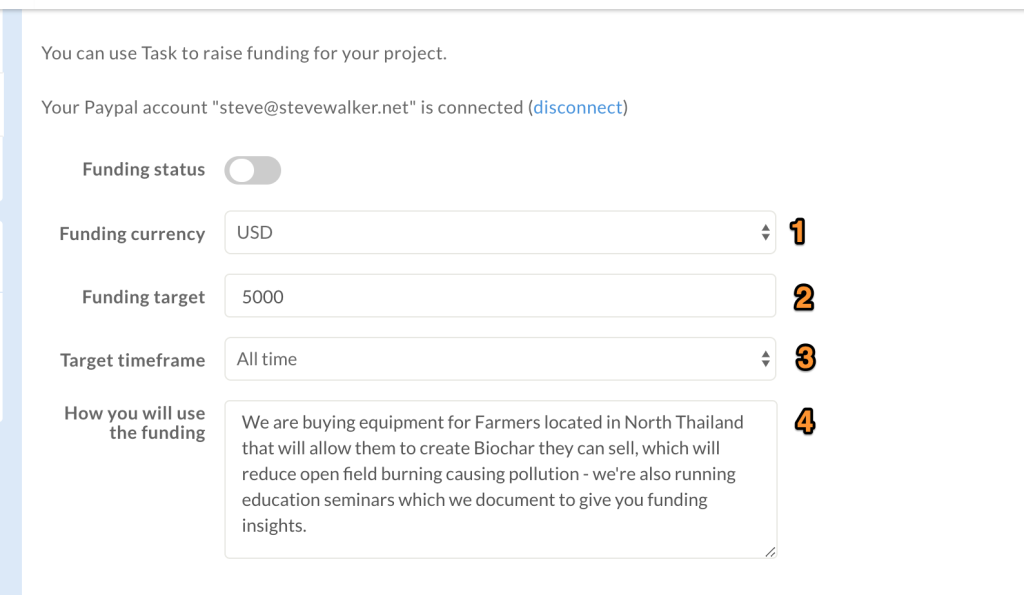
- The currency you will raise funds in
- What is your target?
- What is your funding timeframe? Do you have a fixed total amount as in this example, or do you have an ongoing monthly amount?
- How will you use the funding? What is your elevator pitch to your donors?
Project specific donation amounts
Different projects require different funding amounts. And the type of Funder can differ dramatically from individuals providing small donations to organisations providing very large investments into your mission.
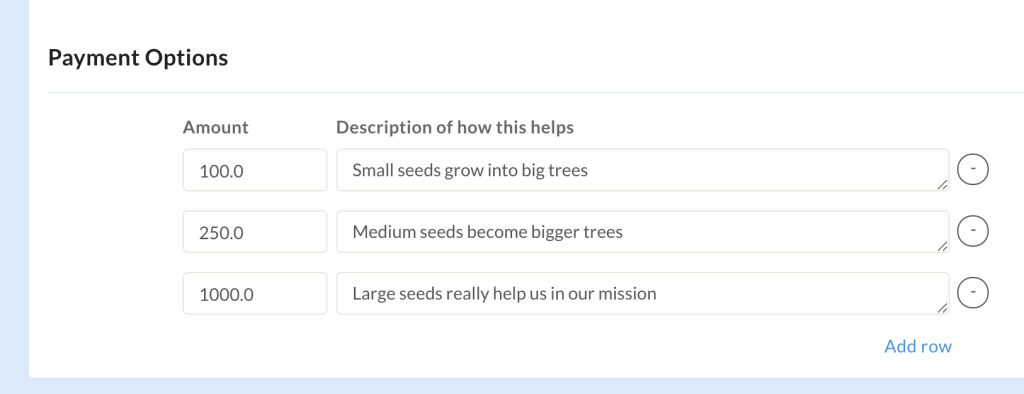
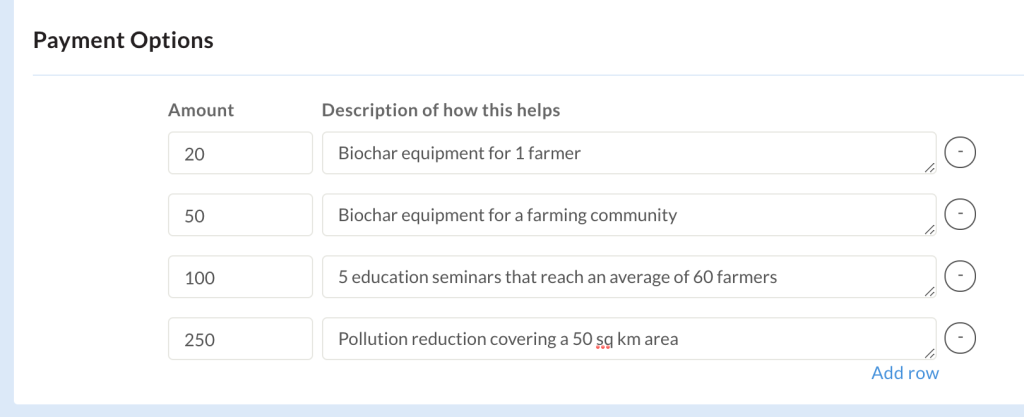
With your own personal project in mind, you can remove and personalise the default options to relate to what your own project is about, for example:
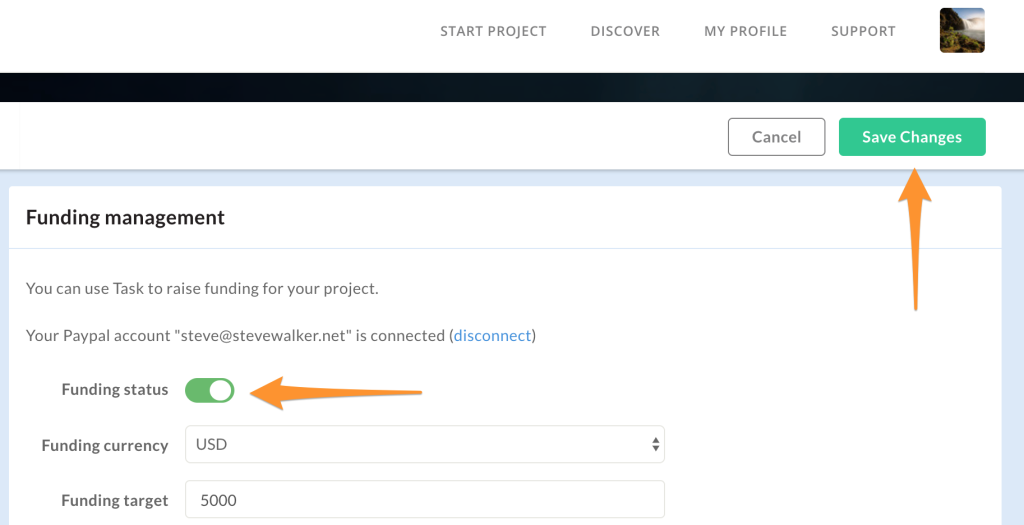
Enable and save changes
Finally, return to the top of the page, enable funding and save your changes:
You should now have a funding page visible on your project:
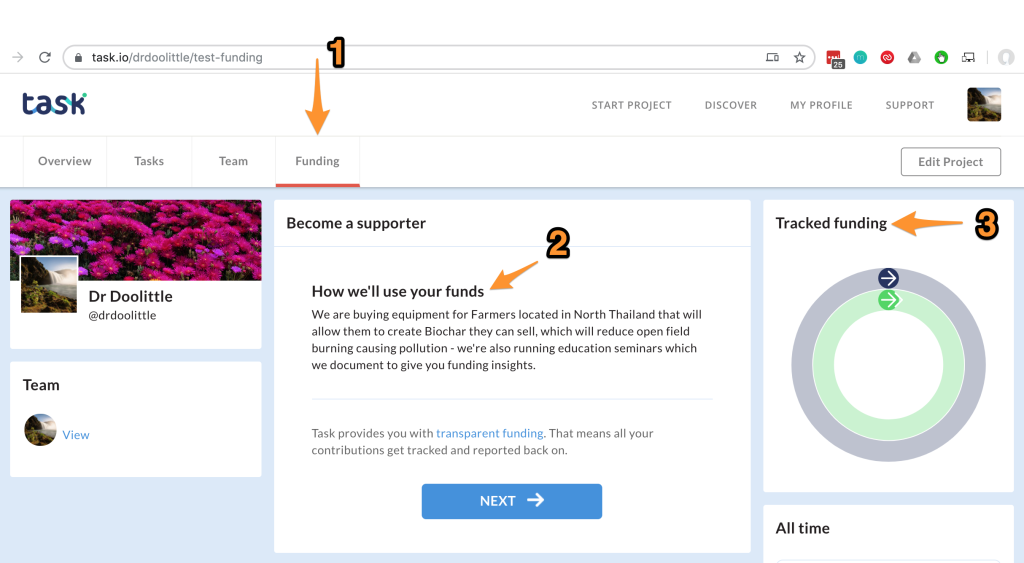
In my example I am highlighting:
- The funding tab that now appears. Just disable funding if you wish to remove this
- You funding mission so its clear what you’ll be using the funding for
- Your tracked funding area – the finances coming in and the funding activity you track in return
You’re now all ready to start gathering your funding and create impact!
